If you own any type of dedicated camera you’ve probably seen buttons and settings that you don’t quite understand how to use. Often it can be a bit daunting to start fiddling if you don’t know what’s going to happen, therefore we often leave our cameras on auto settings and just point and shoot. In this series of articles we’ll be looking at the basics of cameras, controls and usage to help you get the most out of your camera.

Exposure
Exposure is how much light hits the sensor in your camera to capture your photograph and therefore how bright or dark your resulting image is. Getting the correct amount of light into your image is vital; too much and the image will be too bright and colours will be washed out, too little and the image will be too dark and definition is lost. Although with digital photography you can adjust photos afterwards with software, it is far greater to get it right in the camera.
Exposure is controlled by three settings in the camera; shutter speed, aperture and ISO.

Shutter speed
Shutter speed is how long the ‘shutter’ is open. If you have a Single Lens Reflex (SLR) camera or any film camera you have a physical shutter in your camera, this is the bit that moves to allow light onto the sensor or film. If not your ‘shutter’ is just software telling the sensor how long to take in capturing the image.
Aperture

Inside the camera lens is a circle of plastic blades overlapping one another. The size of the hole left by these blades is the aperture. This controls how much light is coming into your camera and falling onto the sensor.
ISO
In film photography the ISO is how quickly chemicals on the film would react to light. Although there are no chemical reactions taking place in our digital cameras this is the same principle. The ISO is how sensitive the camera’s sensor is to light, or for an audio analogy; how much amplification is being applied.
To achieve our goal of correct exposure there settings must be balanced, although there are many different combinations that will produce the same exposure.

Imagine you are making a bucket to collect a set amount of rain water. You control how long you leave the bucket out, how wide the bucket is and how much water you add from the pond at the end of the garden. If you decide on a narrow bucket you must increase how long you leave the bucket out, how much you add from the pond or a little of both. Similarly if you want to leave the bucket out only a short period you might use a wider bucket or add more pond water. You can’t control how fast the rain falls and must always end up with the same amount of water.
The shutter speed is how long you leave the bucket out, the aperture is the width of the bucket and the ISO is how much pond water you add. If you wish to change one then the others must be adjusted to equal the same amount of collected water.
So does it matter how each of these settings are arranged, as long as the sum is correct? Well, most of the creativity in photography comes from control of shutter speed and aperture.
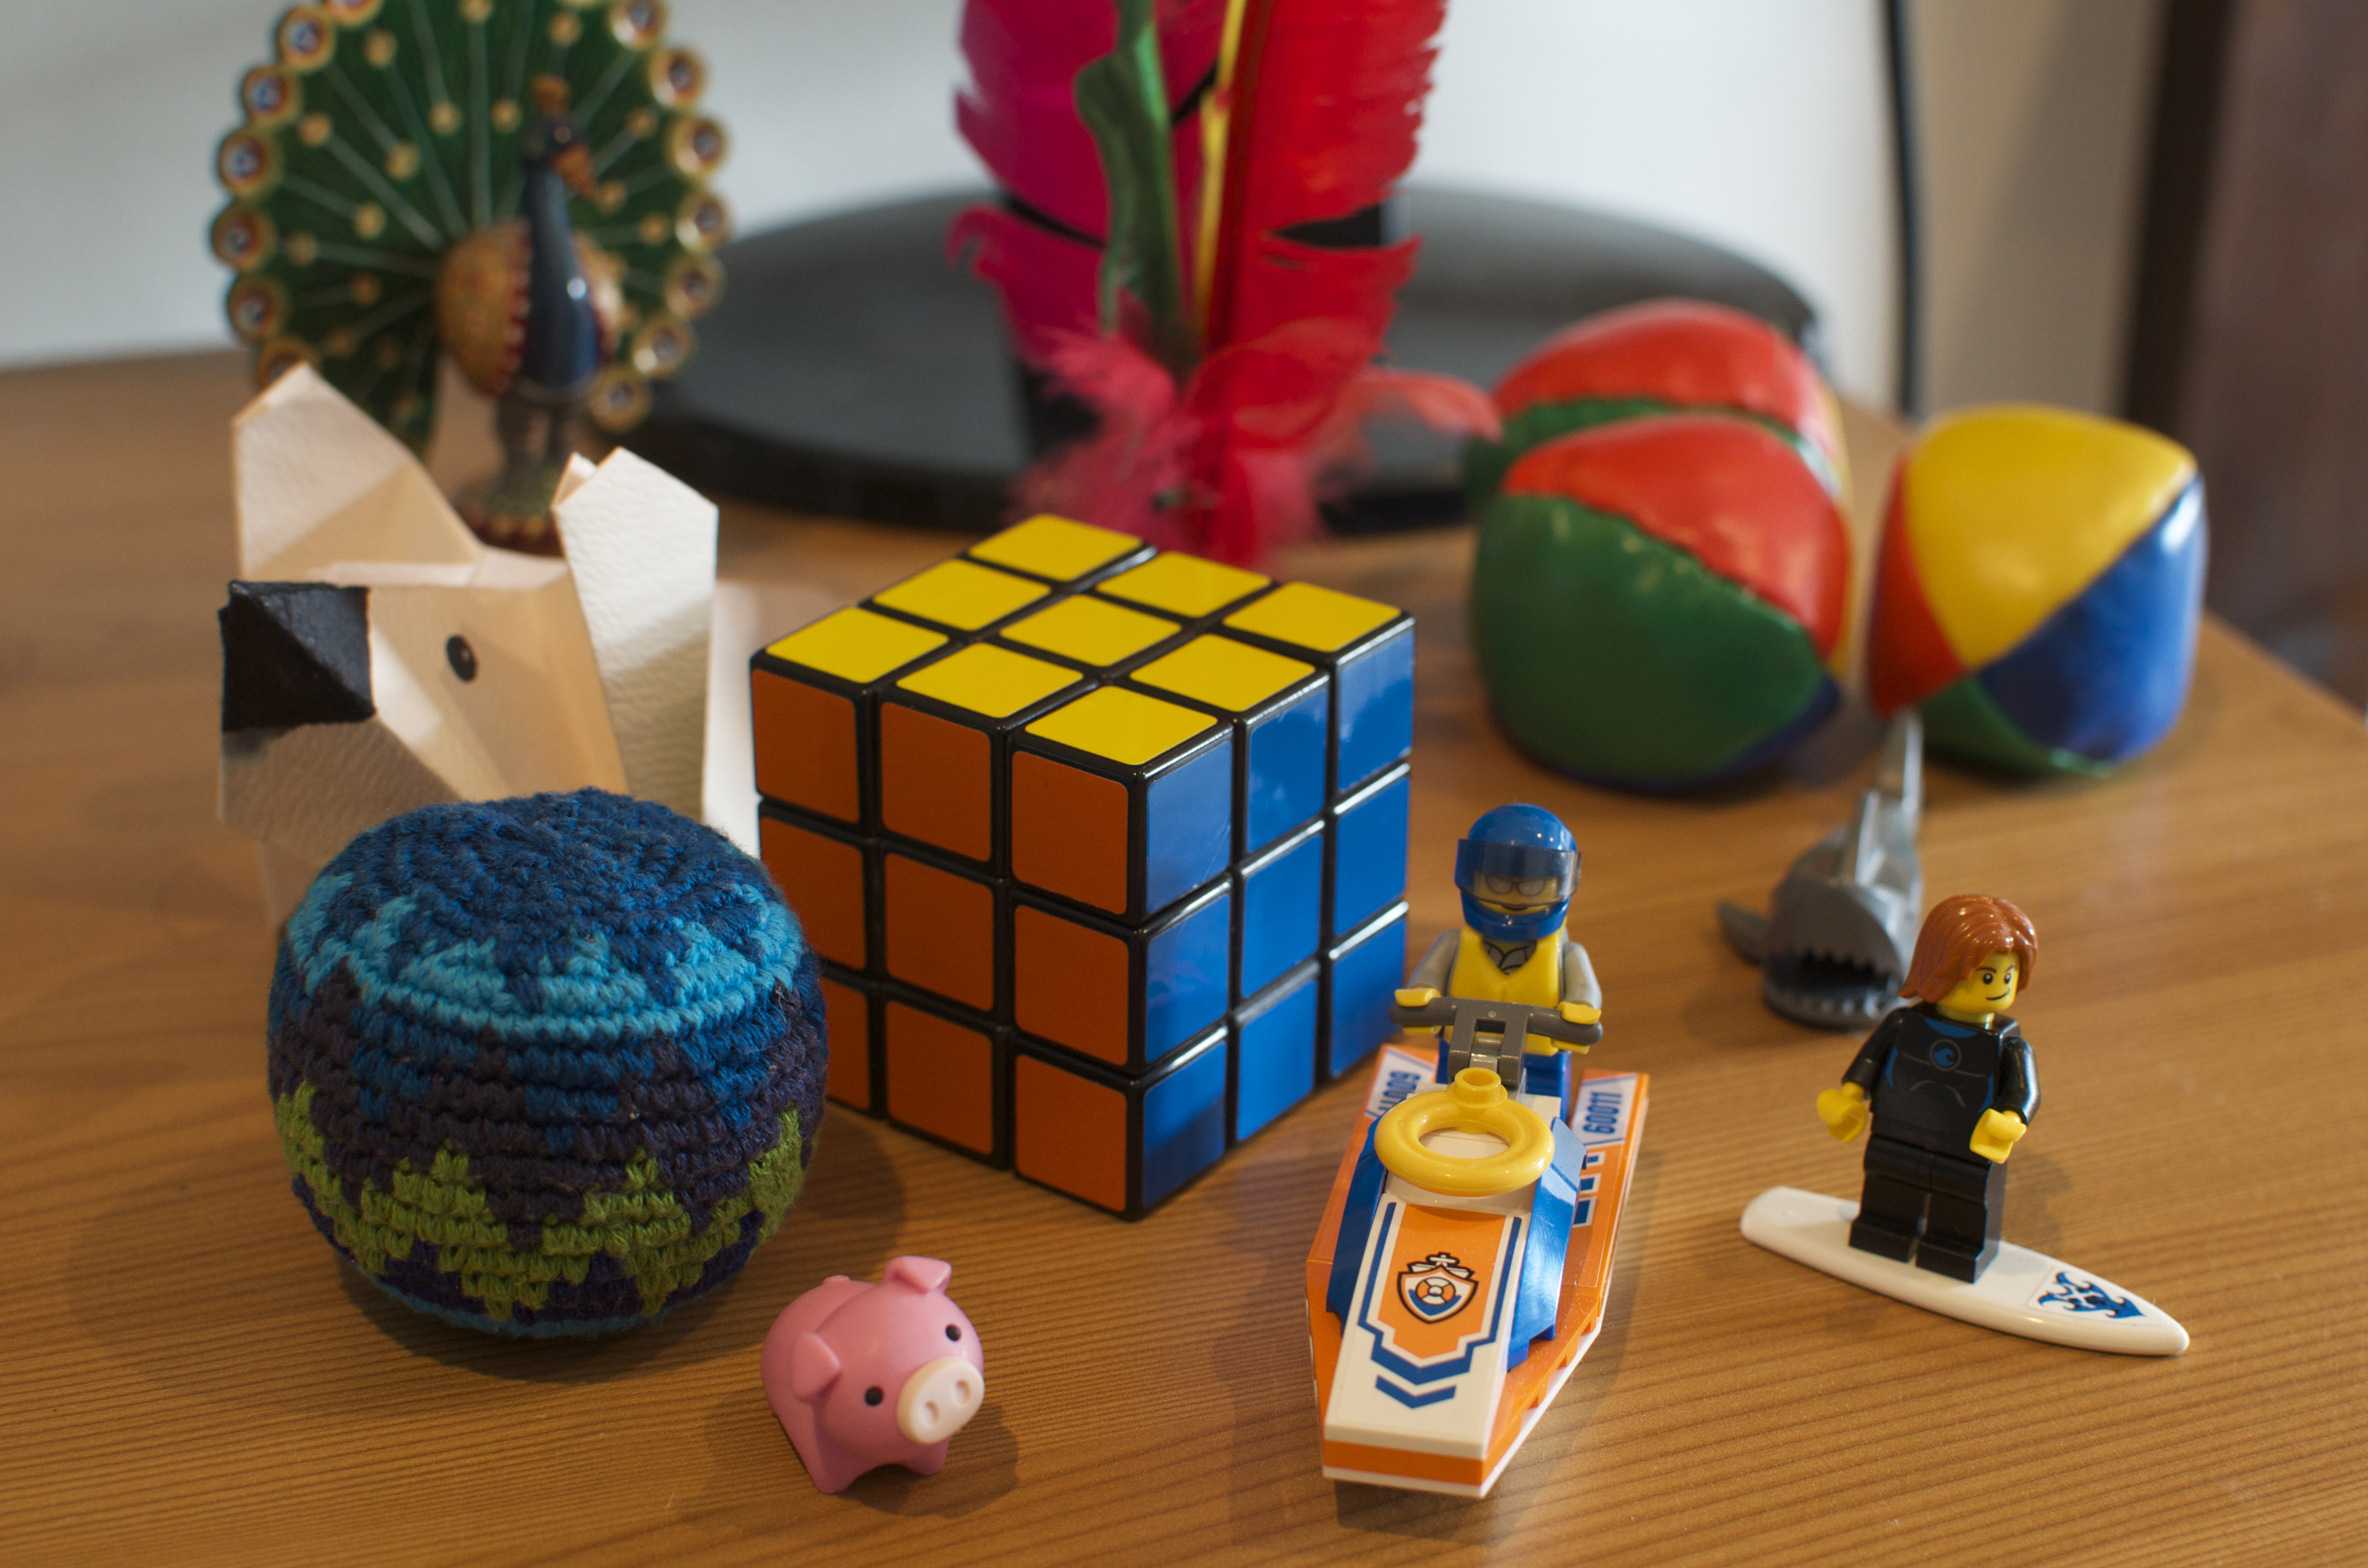
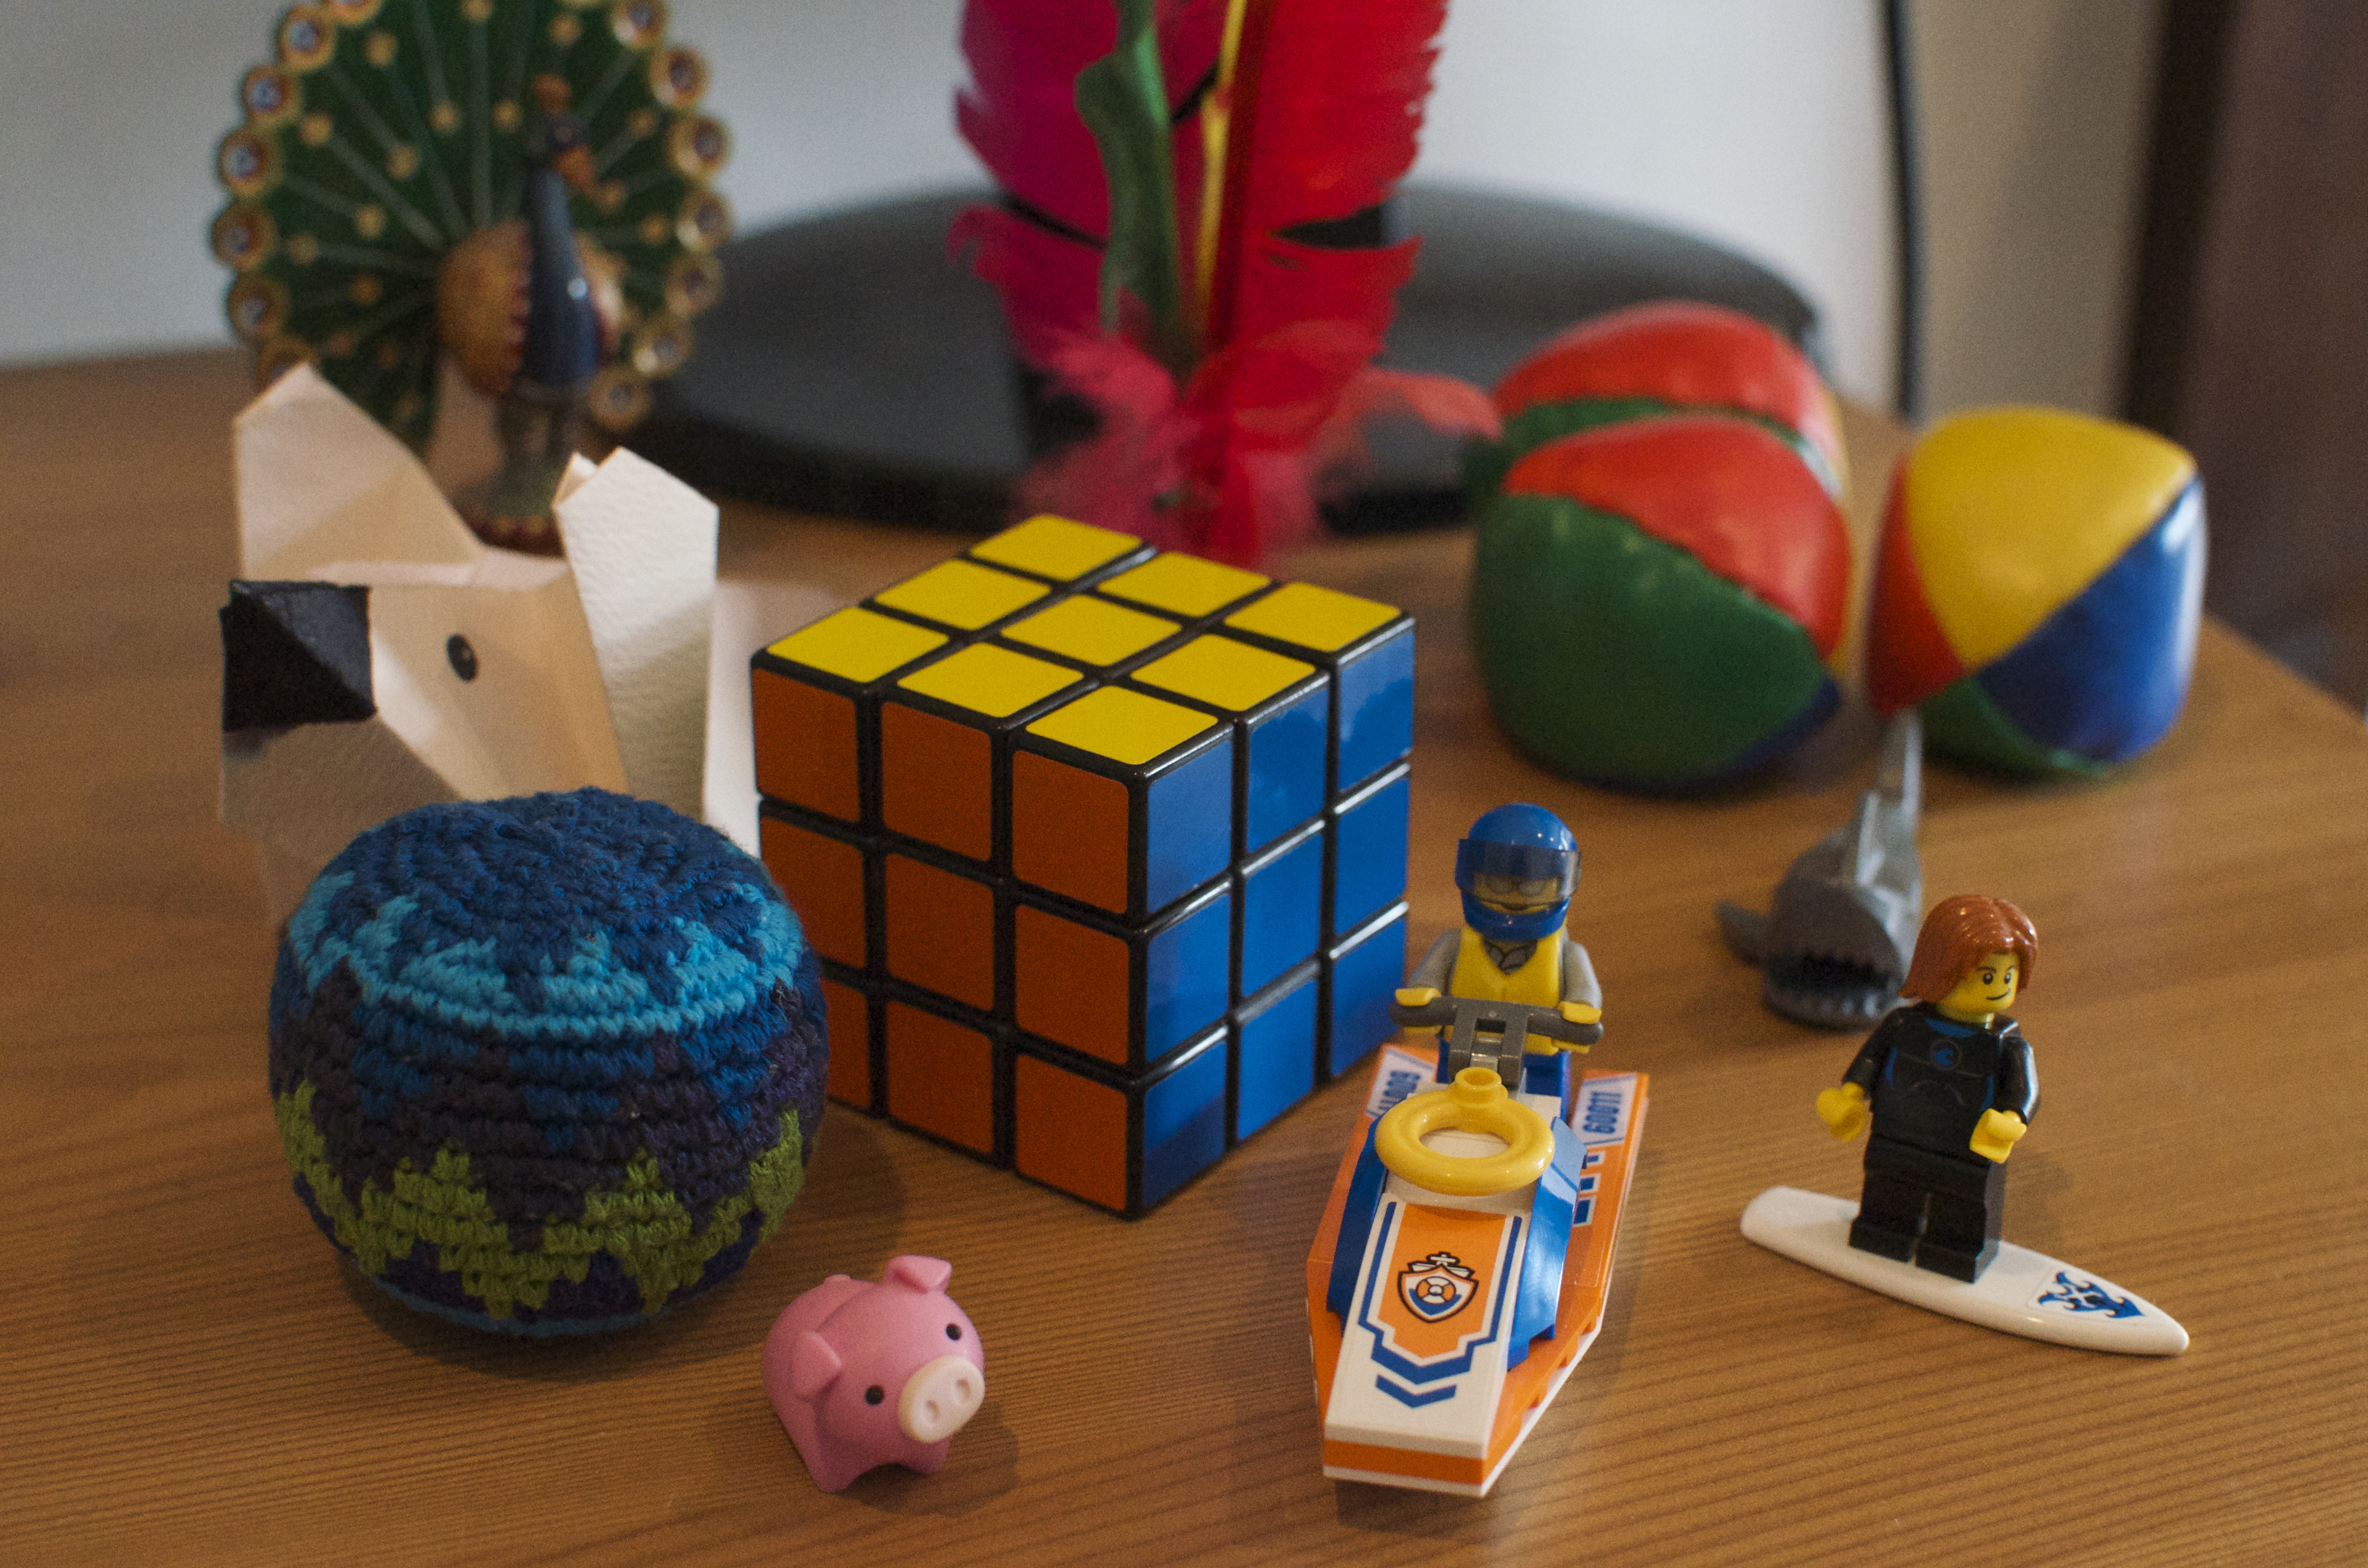
By changing the aperture you not only change the amount of light reaching the sensor, but also your depth of field. This is how much is in focus in front and behind the main focus point. Your aperture is the ‘f’ number on the camera. A smaller ‘f’ number means a larger hole and less in focus (smaller depth of field), and a larger ‘f’ number means a smaller hole and larger depth of field.
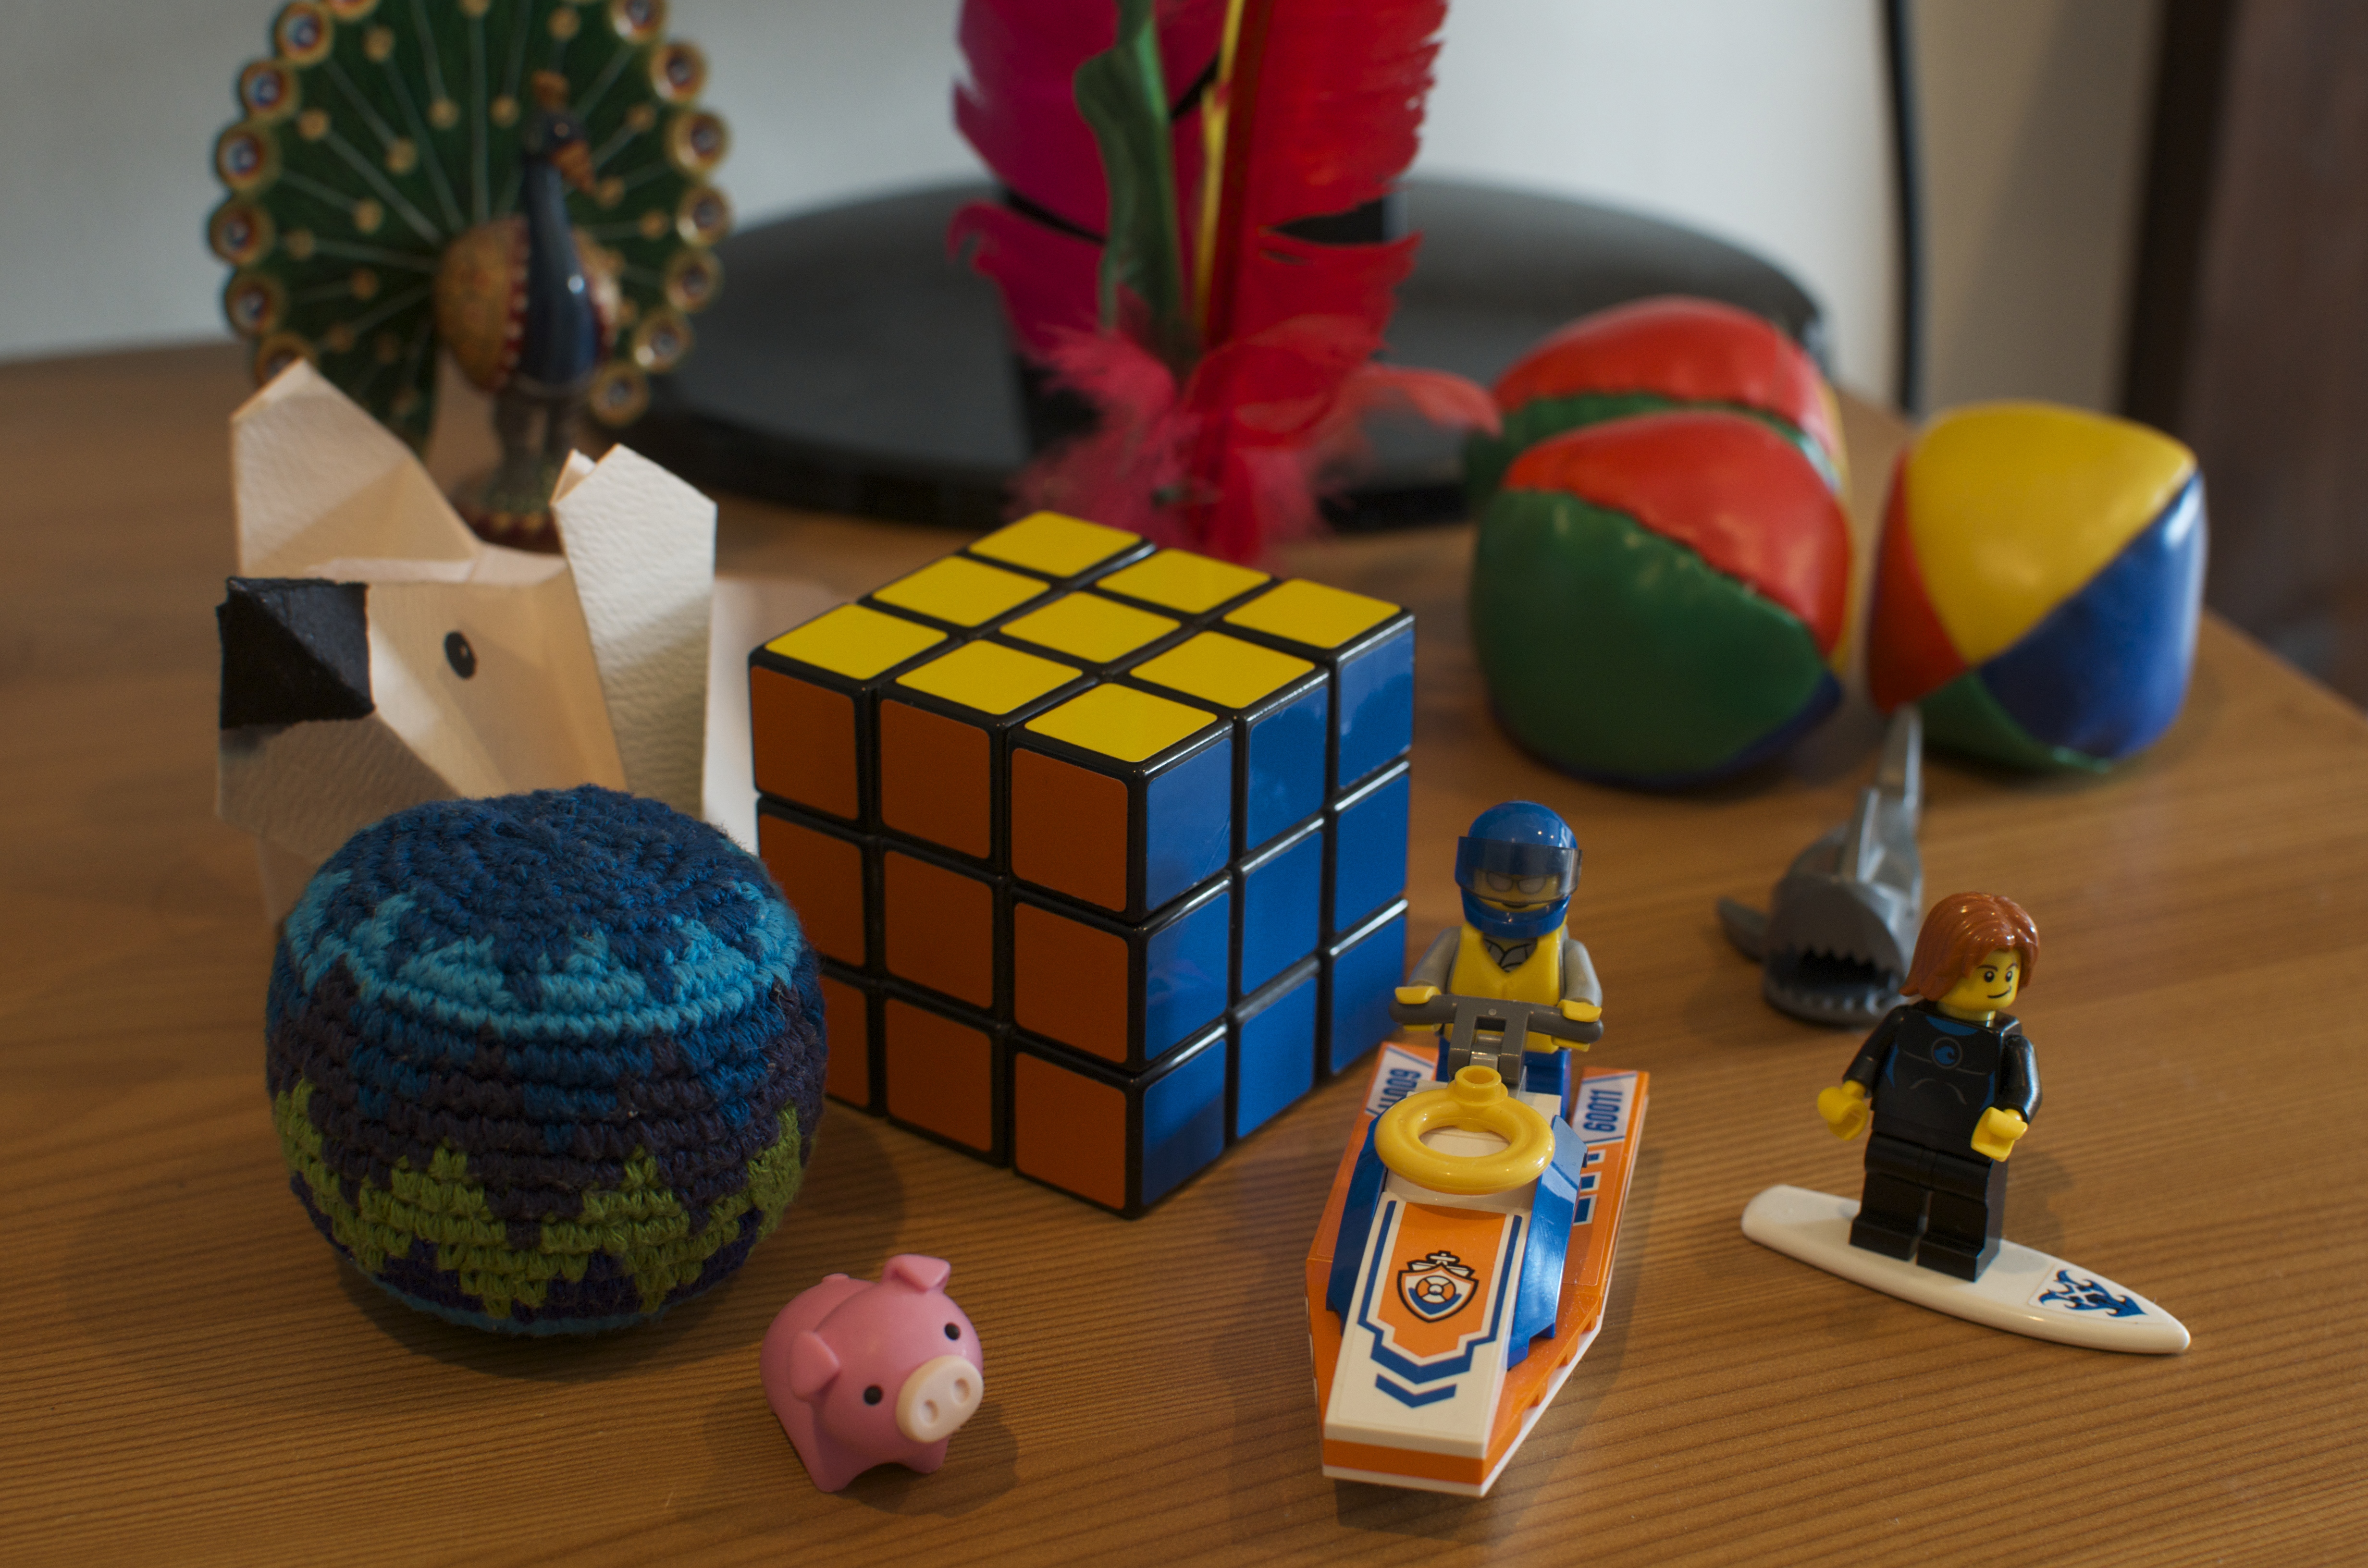
f/4.5
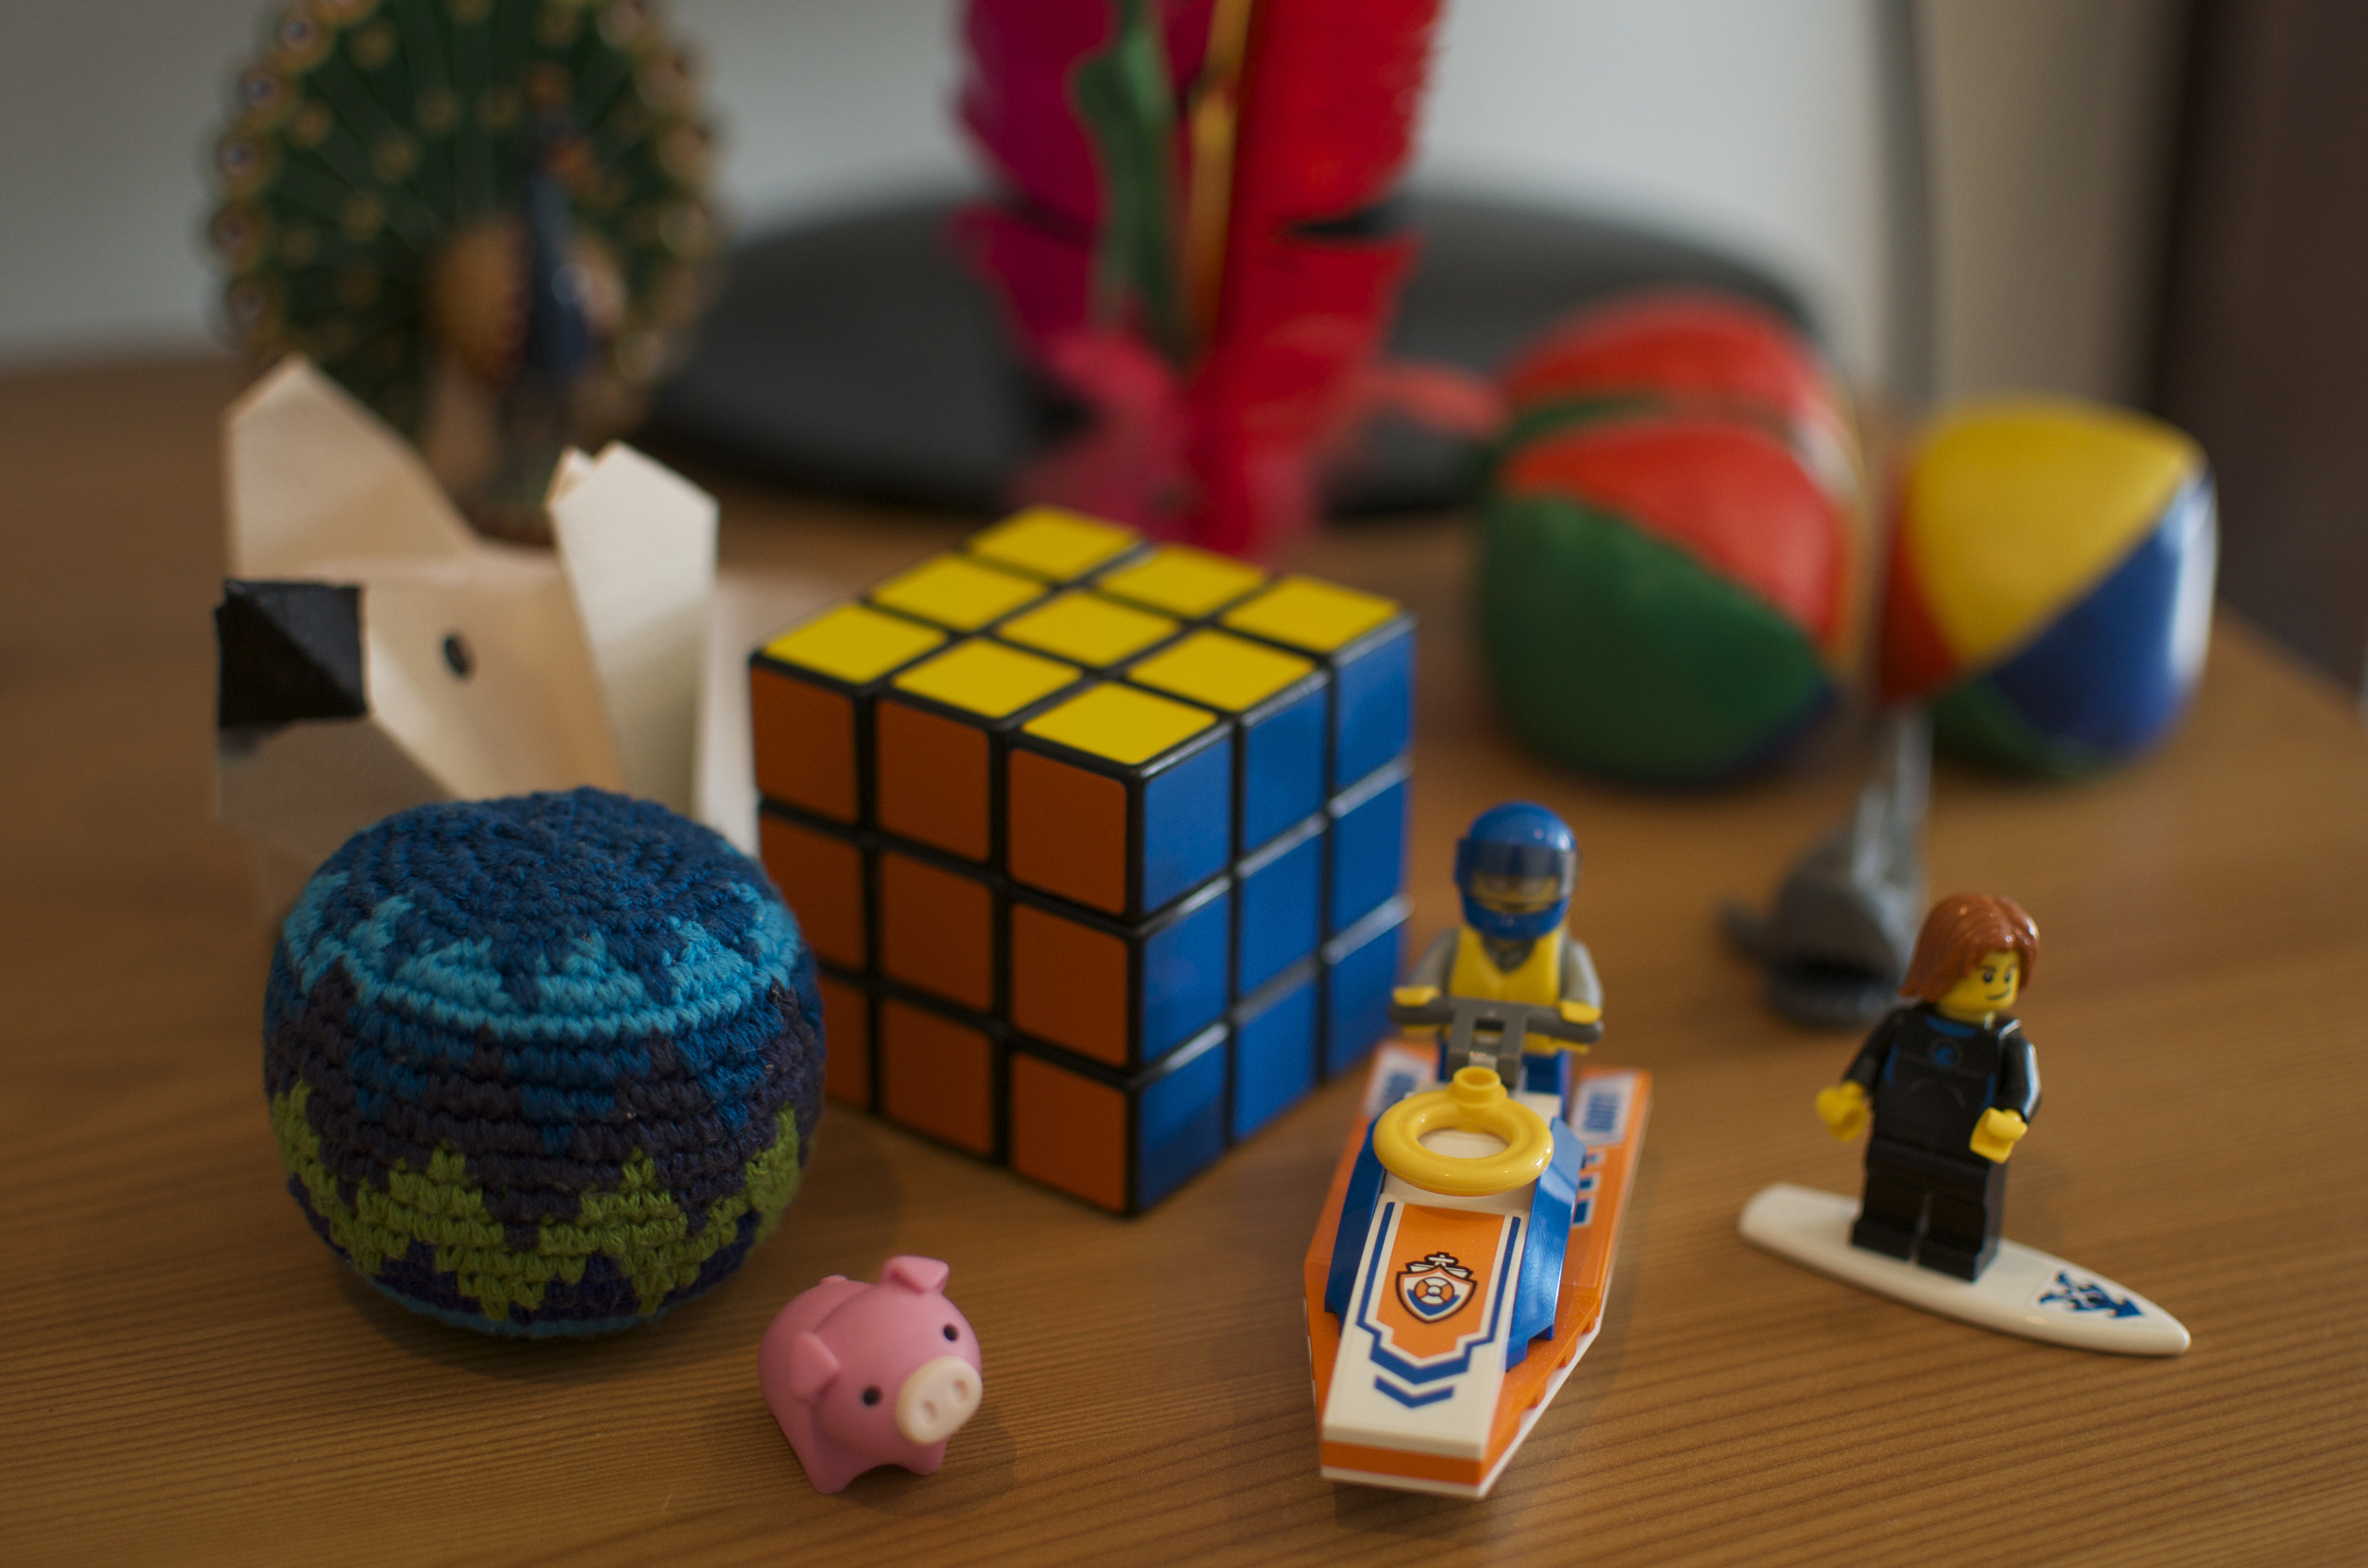
f/2
Your shutter speed controls how still motion will be. If you wish to freeze fast motion you will have to use a fast shutter speed. The shutter speed is noted as 1/’?’ seconds (unless greater than 1 second which is often marker by speech marks).
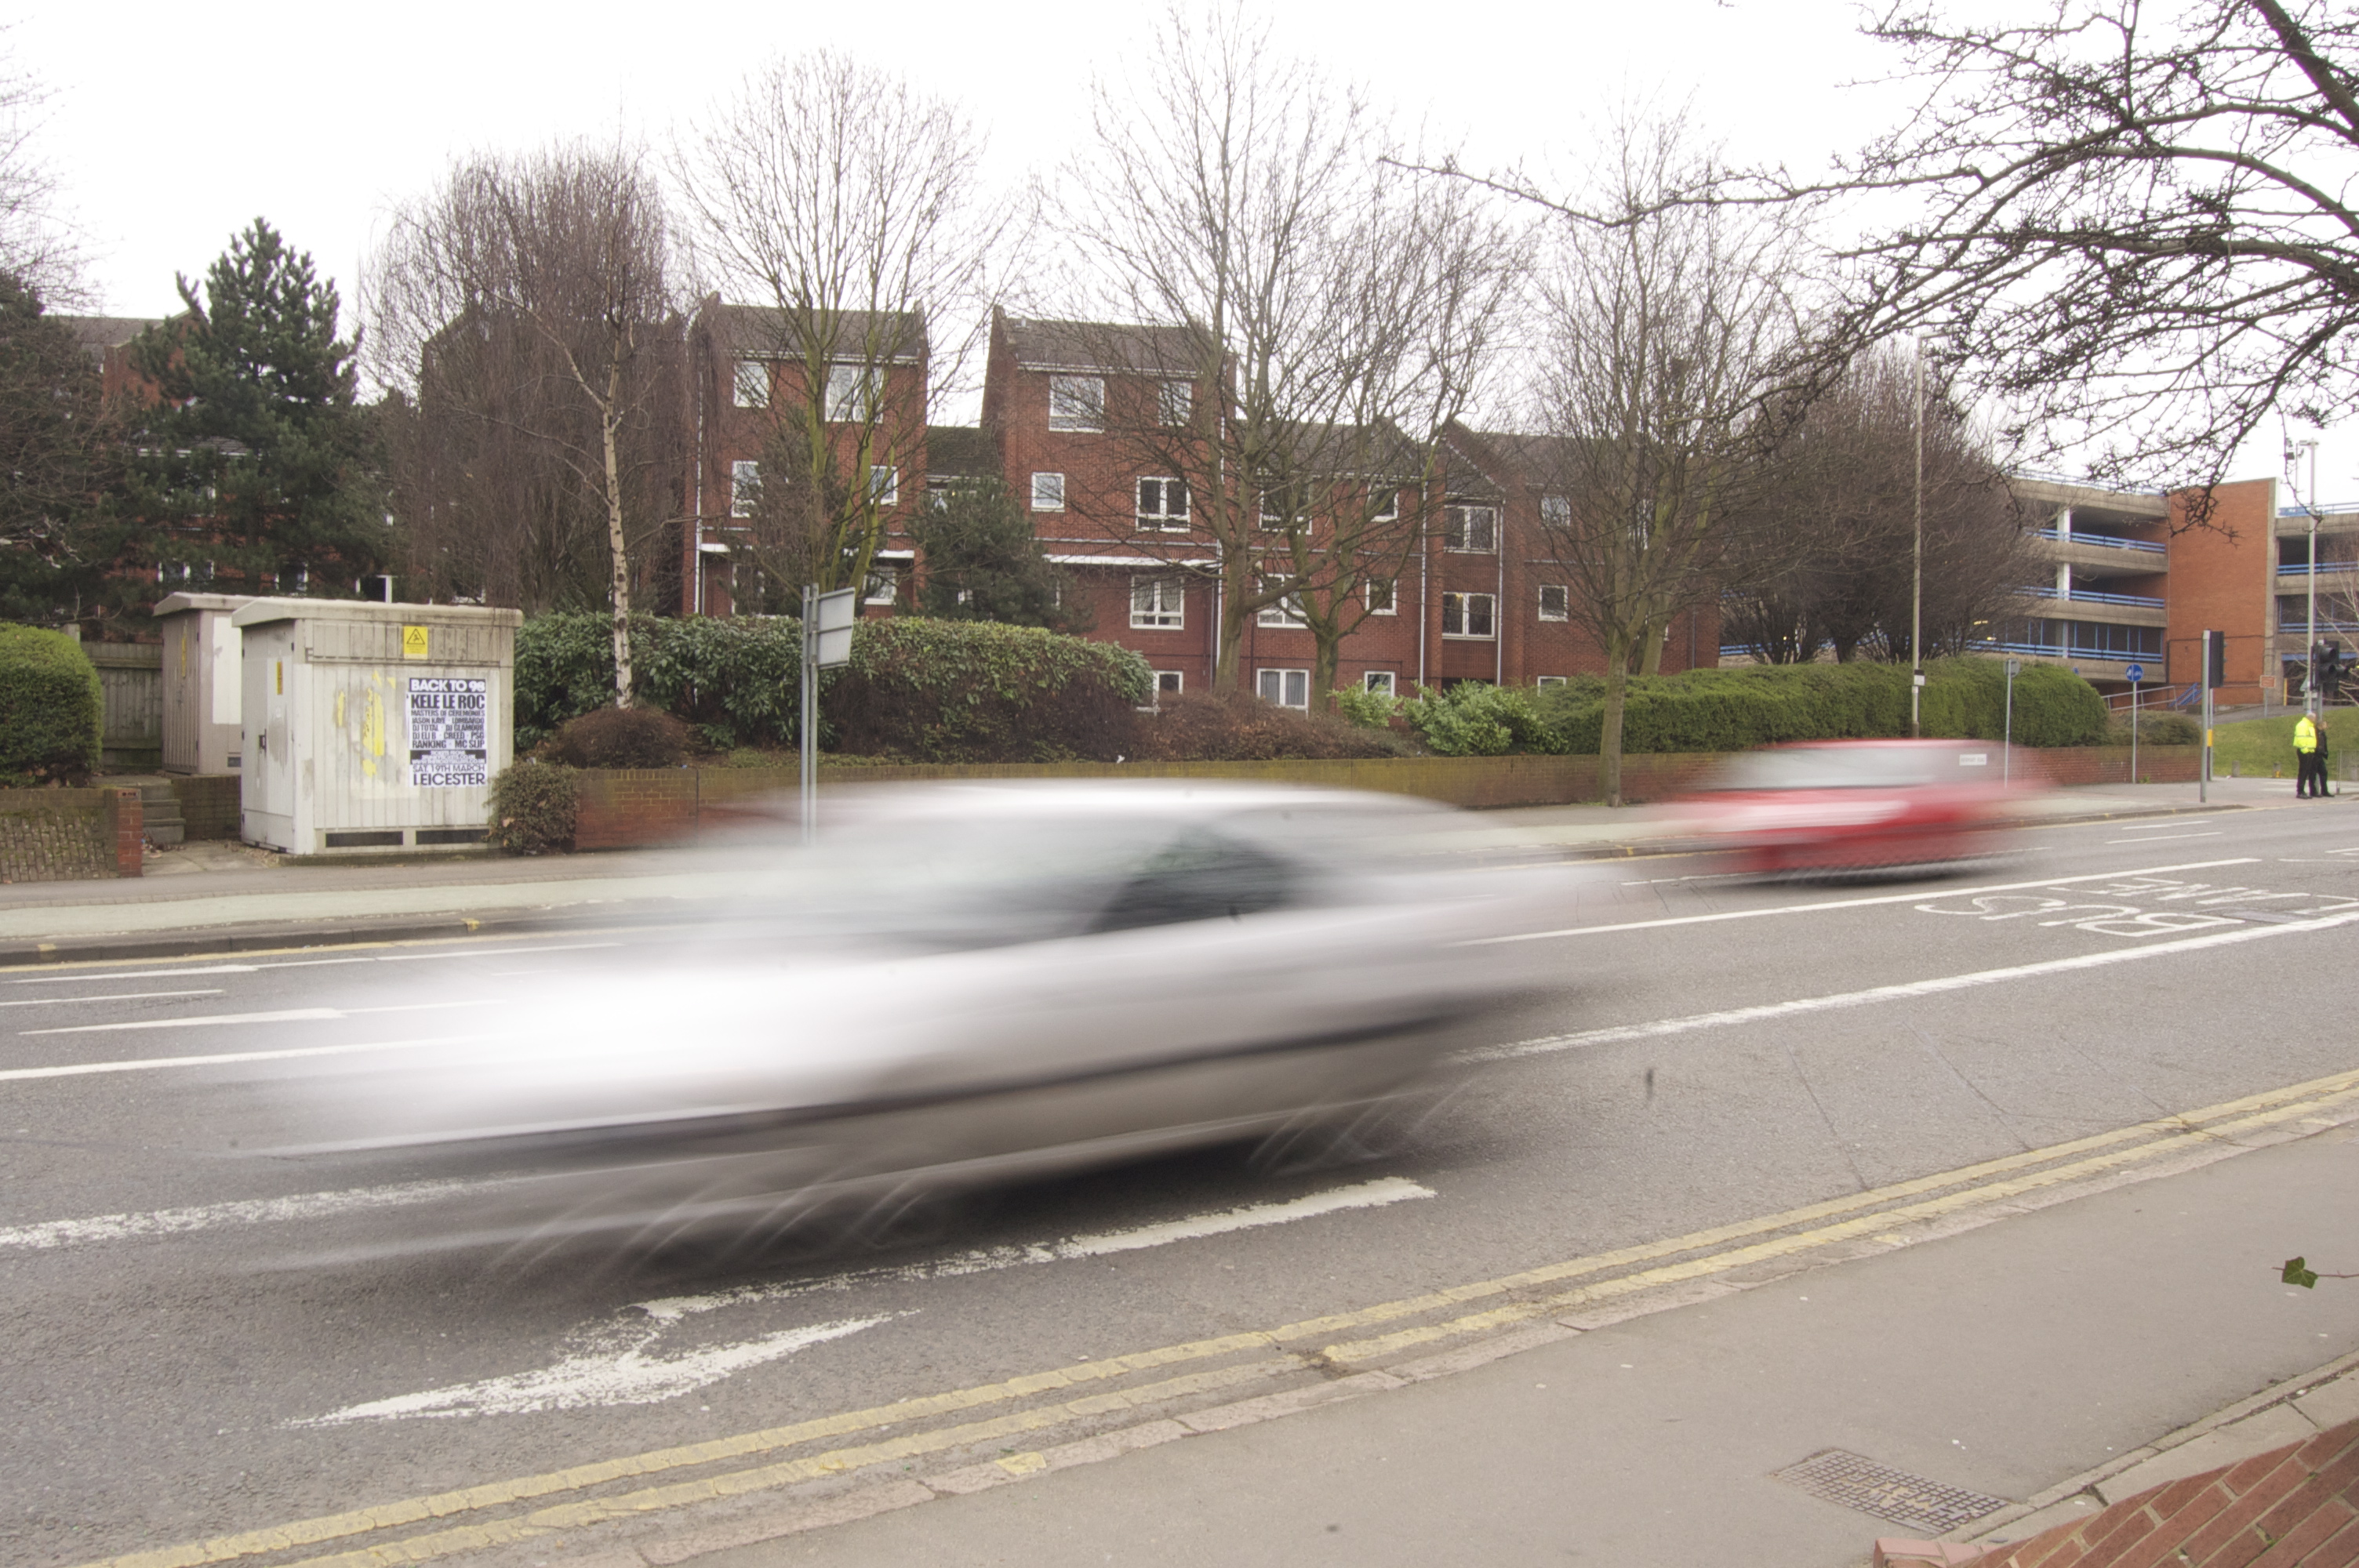
1/5 second
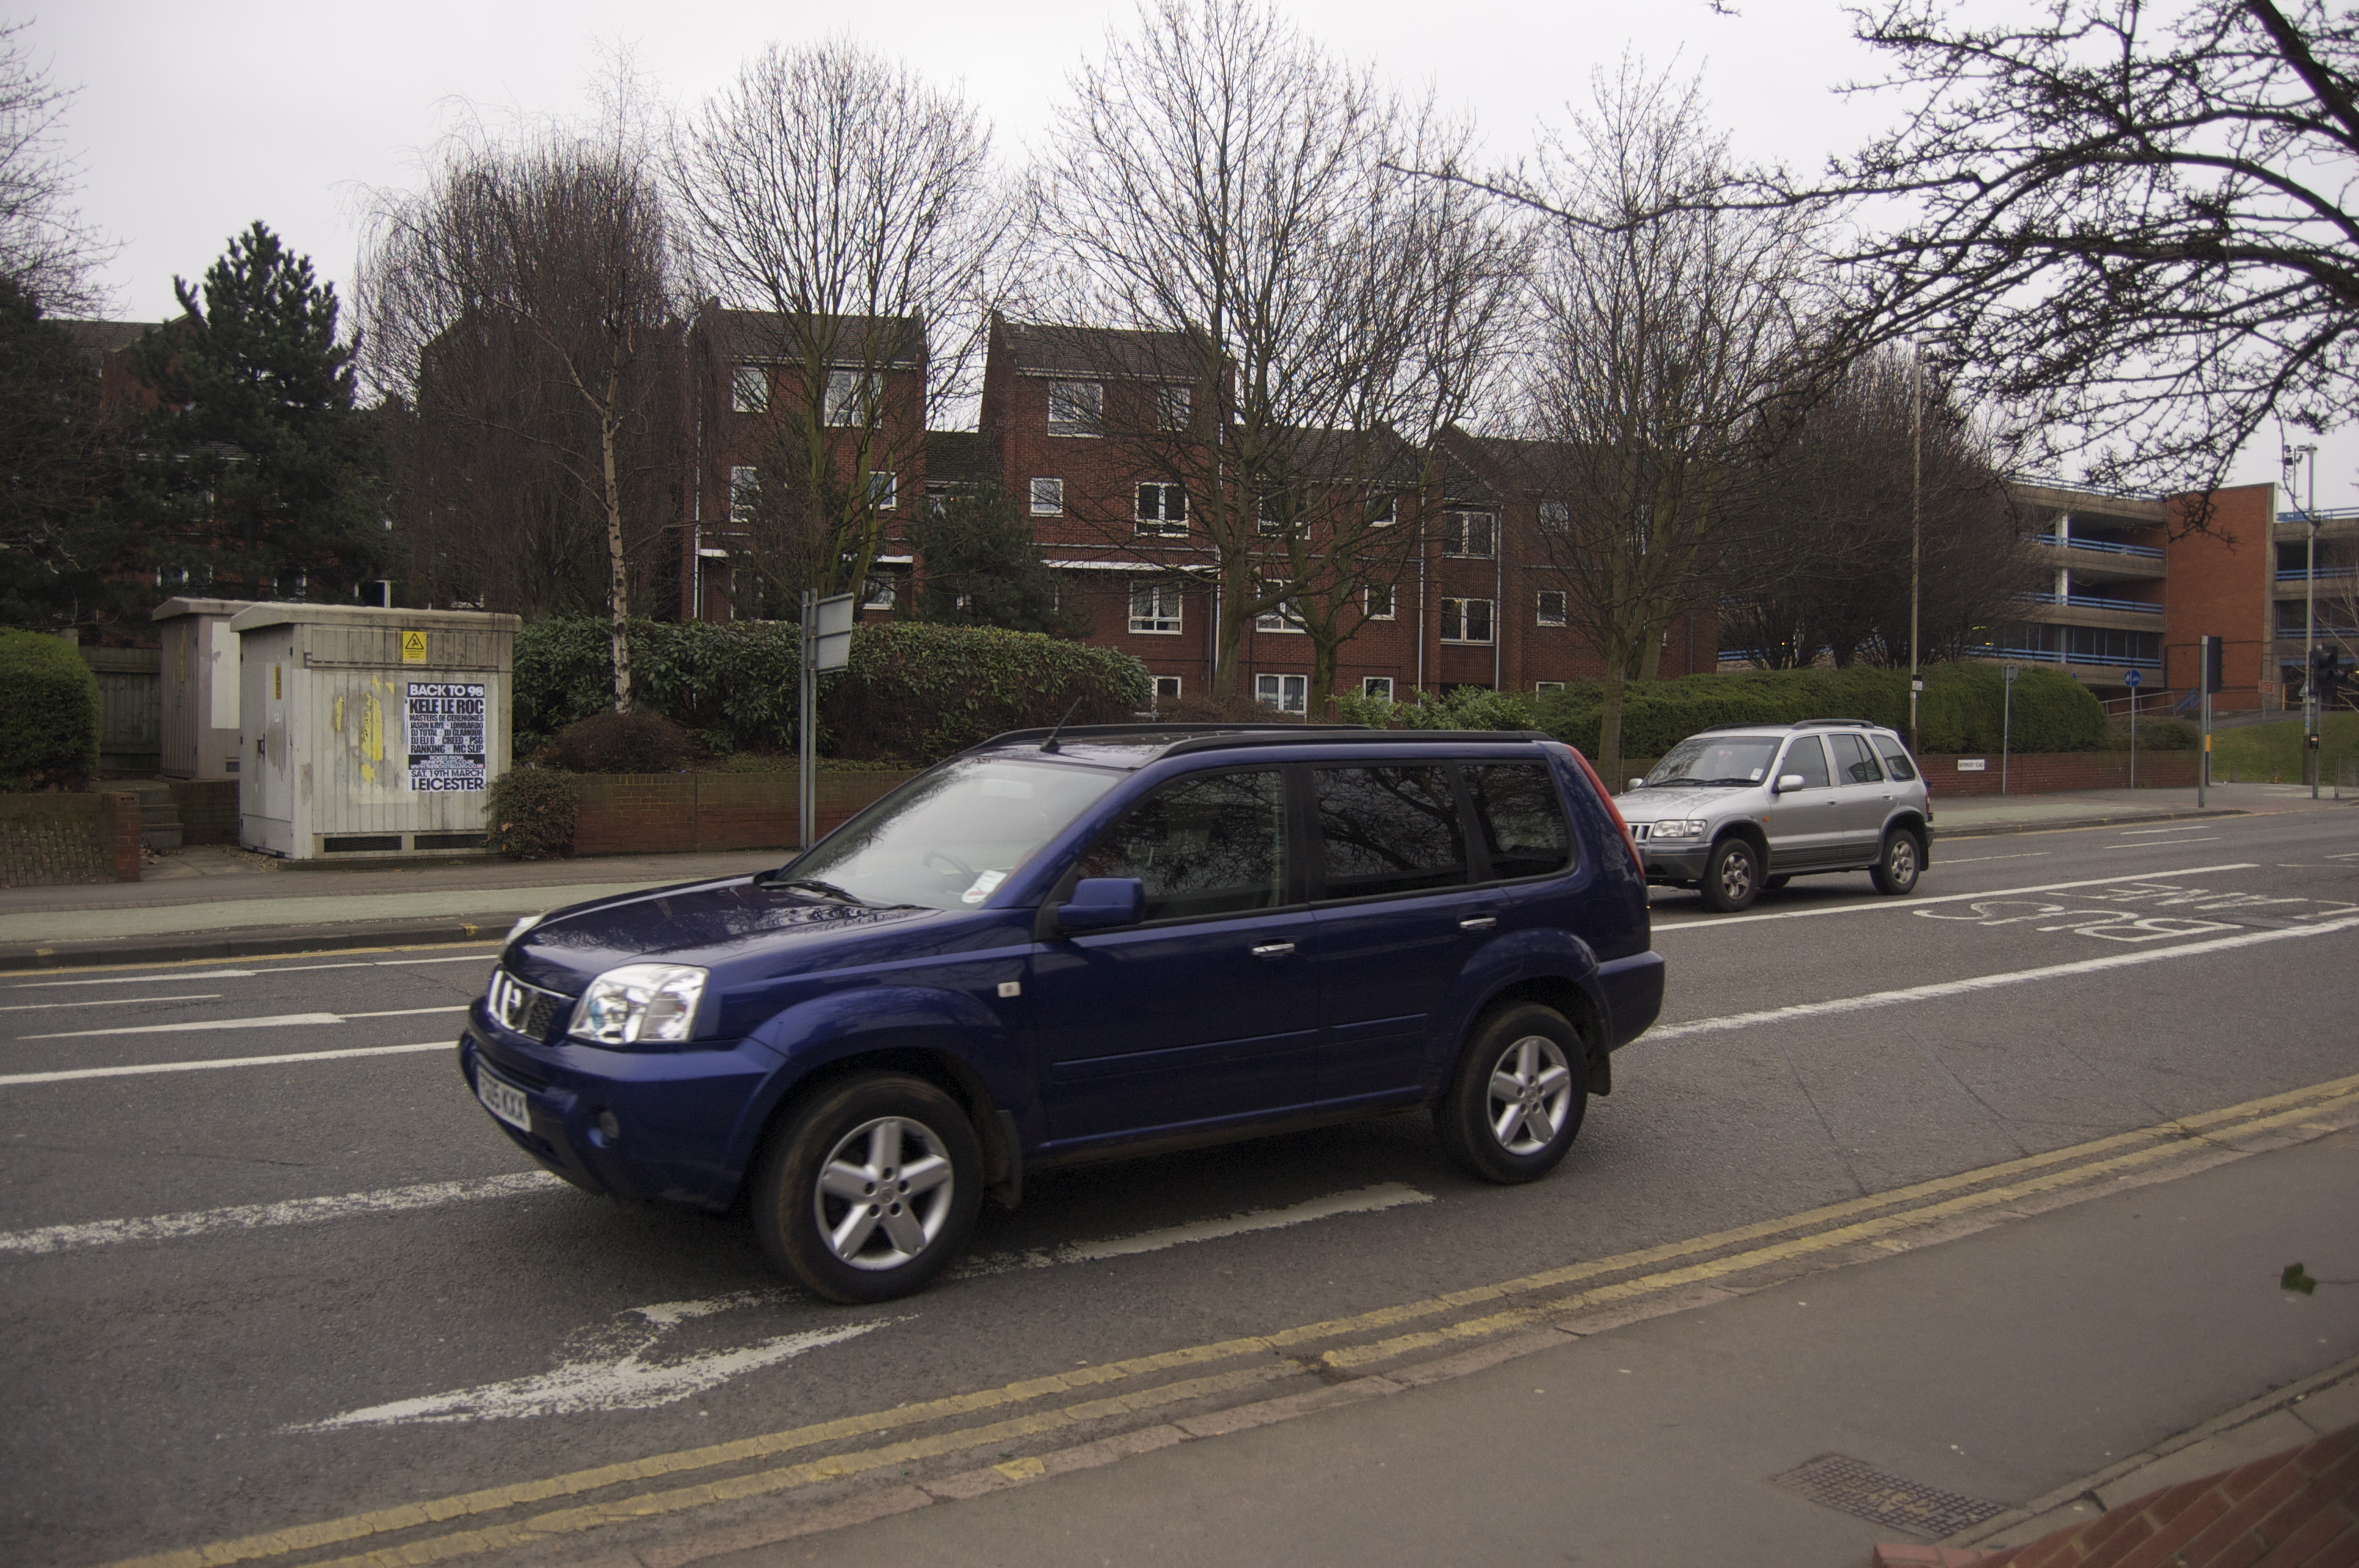
1/500 second
The ISO is more necessity than creativity. Thinking of our bucket analogy, when you add pond water you also add dirt and pond life. In photography this presents itself as ‘noise’, the grainy-quality that you see on some images. The higher you set the ISO, the more noise you are introducing. Therefore in usage you want to keep the ISO as low as is practical for the level of light; if you’re in a badly lit room you won’t be able to get a sharp motion at ISO 100, even with a very wide aperture.
ISO 640
ISO 6400
How to start learning
A good way to start understanding these settings is to isolate each one individually. Many cameras will have ‘priority auto modes’. This is where you can change certain settings, usually aperture or shutter speed, and the camera will adjust the other settings to achieve proper exposure. This means you can start being more creative with the settings without missing the moment by exposing badly.
Once you feel ready, you can take control of all three settings with the full manual mode. To ensure proper exposure a light meter will appear either on the screen or in the viewfinder. When the marker is over ‘0’ the image will be correctly exposed.
Now you have to knowledge to start playing with these settings and being more creative with your picture. Let me know if you found this article useful, or if you have a topic you would like me to cover in future articles in the comments below.
